Kitchen Cabinet Painting
February 25,2013
 Whether it’s dated or you just want a new look, painting or staining the kitchen cabinets may be one of the first projects you consider after moving into a new home.
It seems easy enough. Just slap some new paint onto those old wooden cupboards and, Tada: A brand new kitchen.
However, that’s usually where all the trouble starts.
Painting cabinets is not only one of the more meticulous, detail-oriented and time consuming projects you can undertake, but not properly preparing the wood can also be a very costly mistake.

 Most cabinets are treated with either polyurethane or some other type of treatment that is resistant to paints and stains from setting into the wood grain and properly bonding onto the surface.
The most important thing you can do is either sand or de-gloss the cabinets before you get out that paint brush!
If this major step is overlooked, which includes a good primer mixed with a bonding agent, the new latex paint will simply peel off. This is especially true once you begin washing the surfaces (a commonality in the kitchen) and steam vapors from the stove starts hitting those cabinets.

The first thing to do is remove all of the doors and hardware (hinges, door knobs, handles, etc.) from the cabinet faces and then label and number each corresponding door to its respective cabinet. This will save you a lot of headaches when it comes to re-installing the individual pieces.
After everything is down and numbered or lettered then comes the decision of how best to treat the wood. If you want to re-stain the cabinets then will have to sand the wood down to its original grain.
This is a lengthy process and will probably take the average homeowner an entire weekend for this step alone.

If you are looking to paint, then I highly recommend using a deglossing solution that will eliminate the need for sanding and will cut the project time in half.
Apply liberal amounts of the deglosser on the cabinet doors, faces, sides and underneath, as well as any other areas you plan to paint.
Apply it directly with a paint brush you don’t intend on painting with or soak a rough rag and allow the solution to work into the wood before buffing it off in a clock-wise, circular motion with a rag.
It may take more than one application depending on how thick or dense the factory treatment was applied to the cabinets, but it will certainly be worth it in the end.
Priming the wood before painting is equally important using a primer that has a bonding agent pre-mixed (which is easiest) or mixing it in yourself. If you are staining, then sanding the wood down to its original grain will give you the same effect. (But if you sand and intend on painting you still need a good bonding primer!)
If you are an experienced painter and are good with an edger or painting shield, then you’re ready to start. If not, then make sure you have taped around the cabinet walls and counter tops or you will have quite the cleanup job ahead of you and possibly a much bigger painting job.

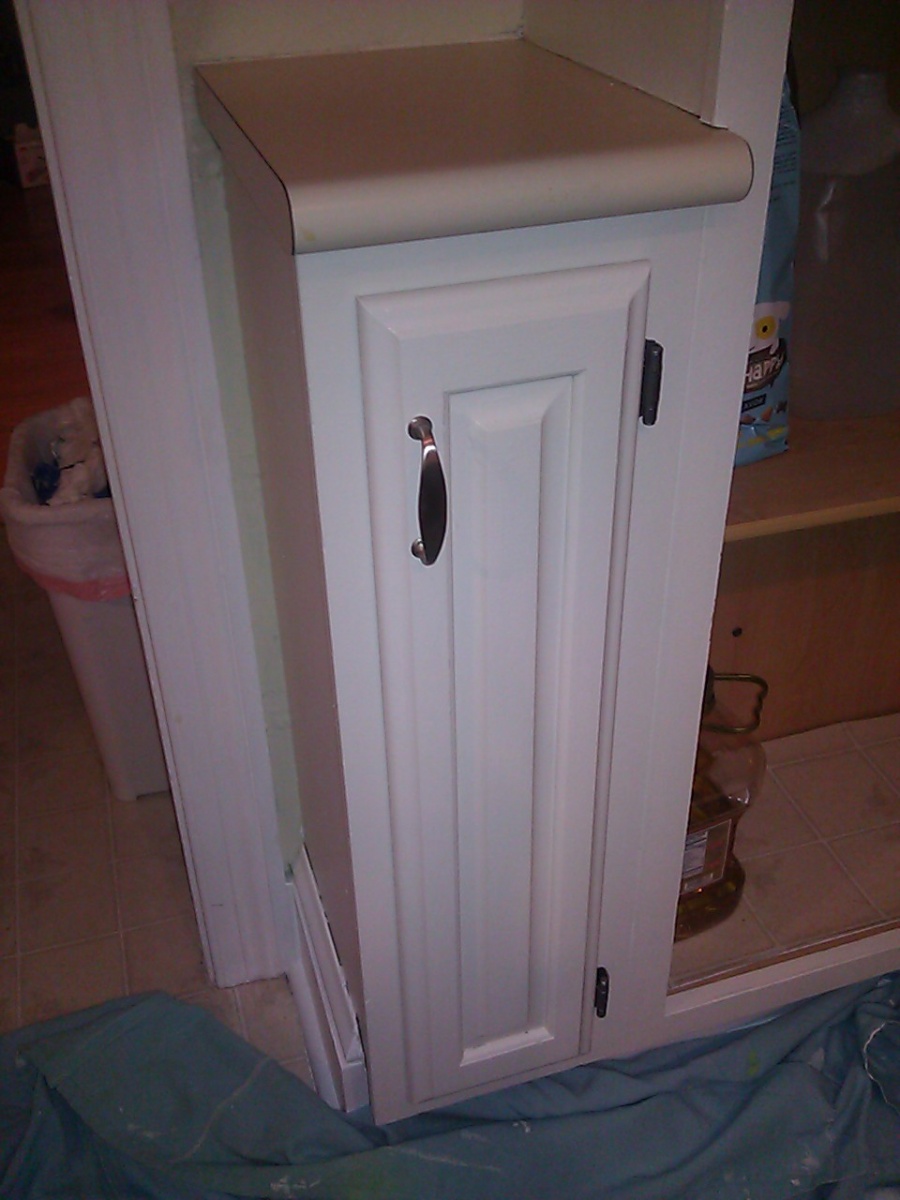
It is best to set up the doors on saw horses or other elevated surfaces in order to coat all of the crevices and manufactured edging.

Be mindful of drips along the edges and the sides of the cabinet doors and drawers.

At least one coat of primer will be necessary for a proper bond but a second coat will go a long way towards a flawless finish.
 After everything is set and dried
properly then it’s on to the top coat of paint.


After everything is dried then you can re-install the hardware or buy new fixtures to go with the updated scheme.


This is where the numbering comes in handy because even if some of the doors are the same dimension, they will not always hang the same if they were taken from a different section.
If using new hardware make sure they match up to the existing holes.
When it is all said and done, you will be left with a relatively inexpensive renovation that will look like a complete kitchen overhaul! And, if done properly, it won’t crack or peel …

Image Gallery: Click on the left or right of the image to navigate or use the arrow keys on your keyboard.
-
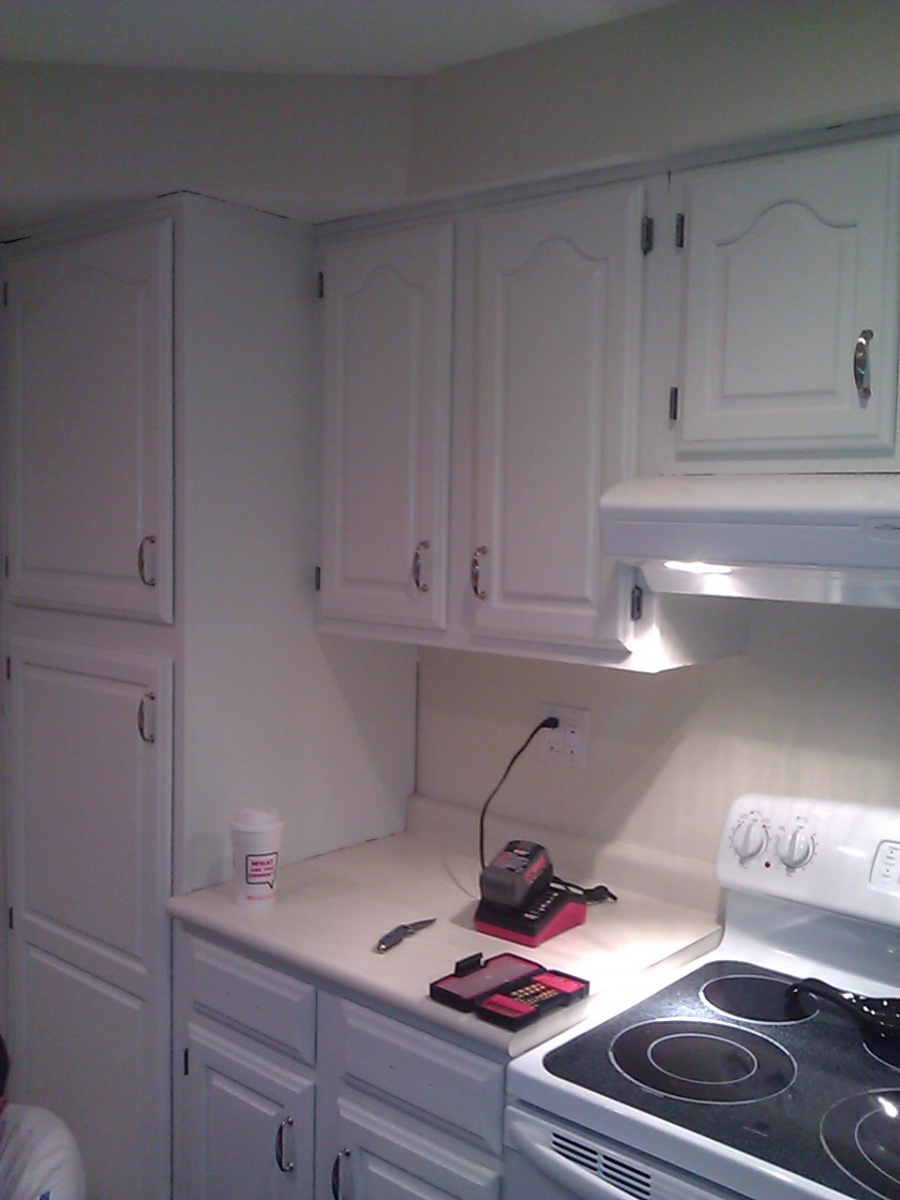
- Tada!
-
- Remove the hardware
-
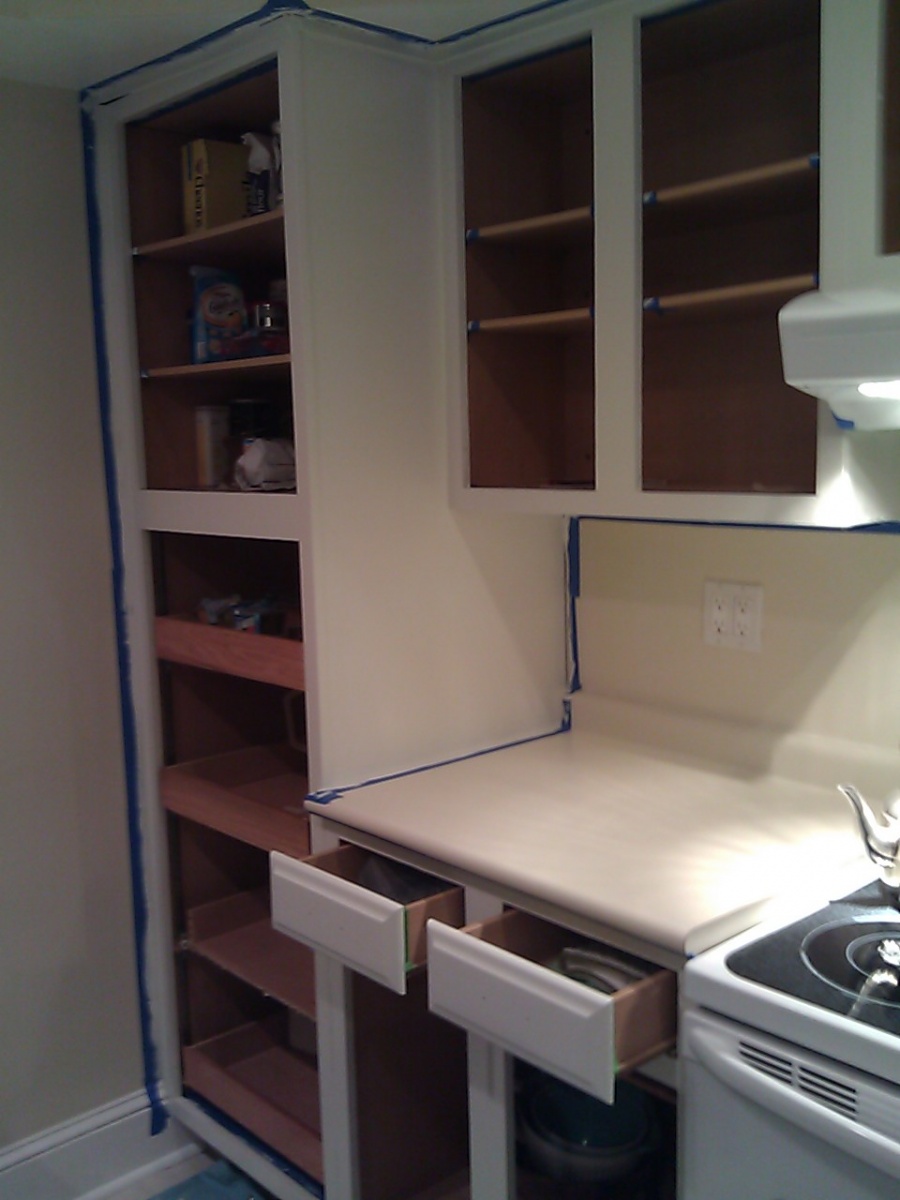
- Tape the walls and counters
-
- Remove the doors
-
- Number the doors and where they hang
-
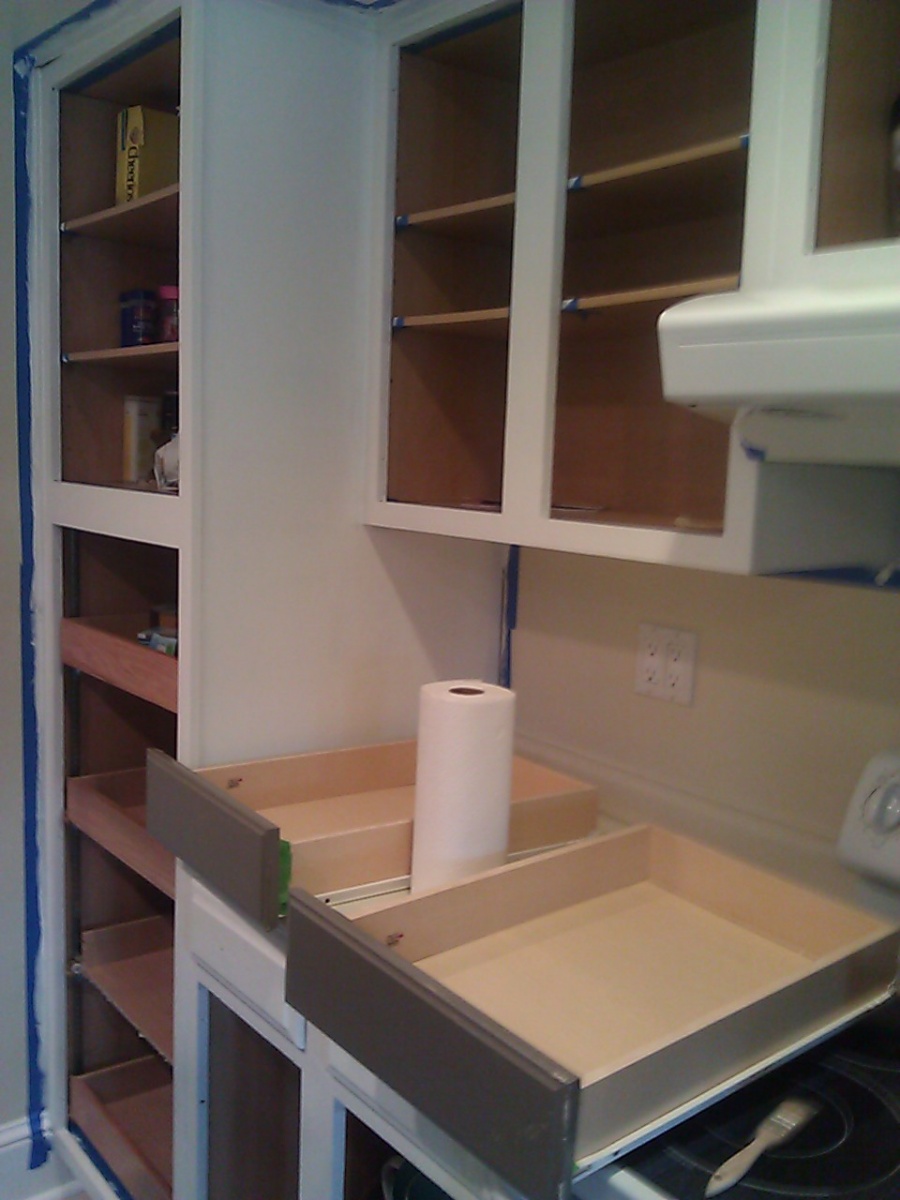
- Remove the drawers
-
- Using a bonding primer
-
- Prepare to re-install
-
- Prime the cabinet faces, too
-
- Satin finish
-
- Put on the top coat
-
- Use an elevated sur
-
- Make sure everything is deglossed and primed
-
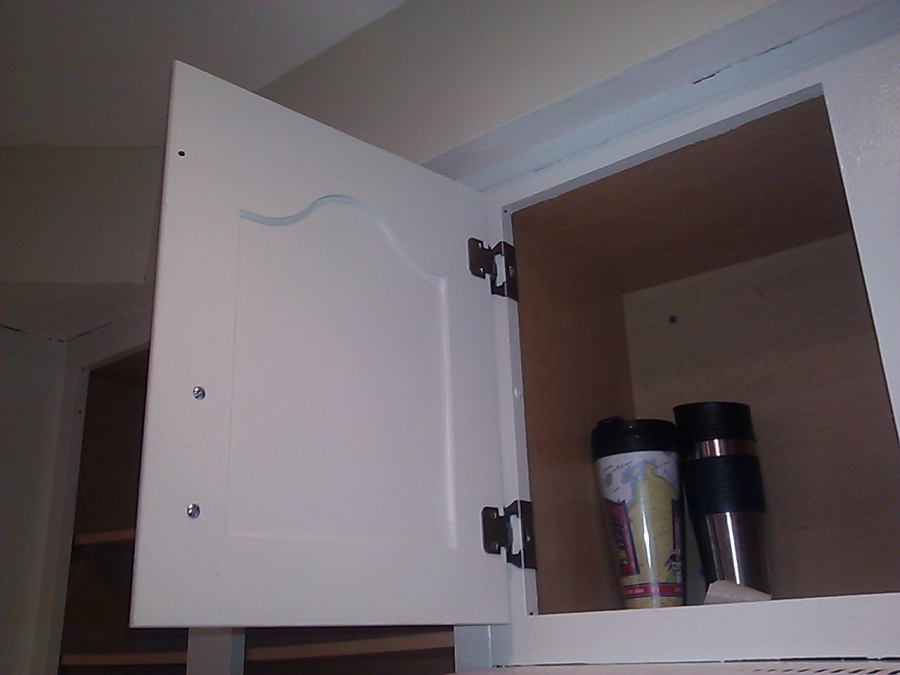
- Re-install the hardware
-
- Hang the doors in their orginal place
-
- Check for drips or missed corners
-
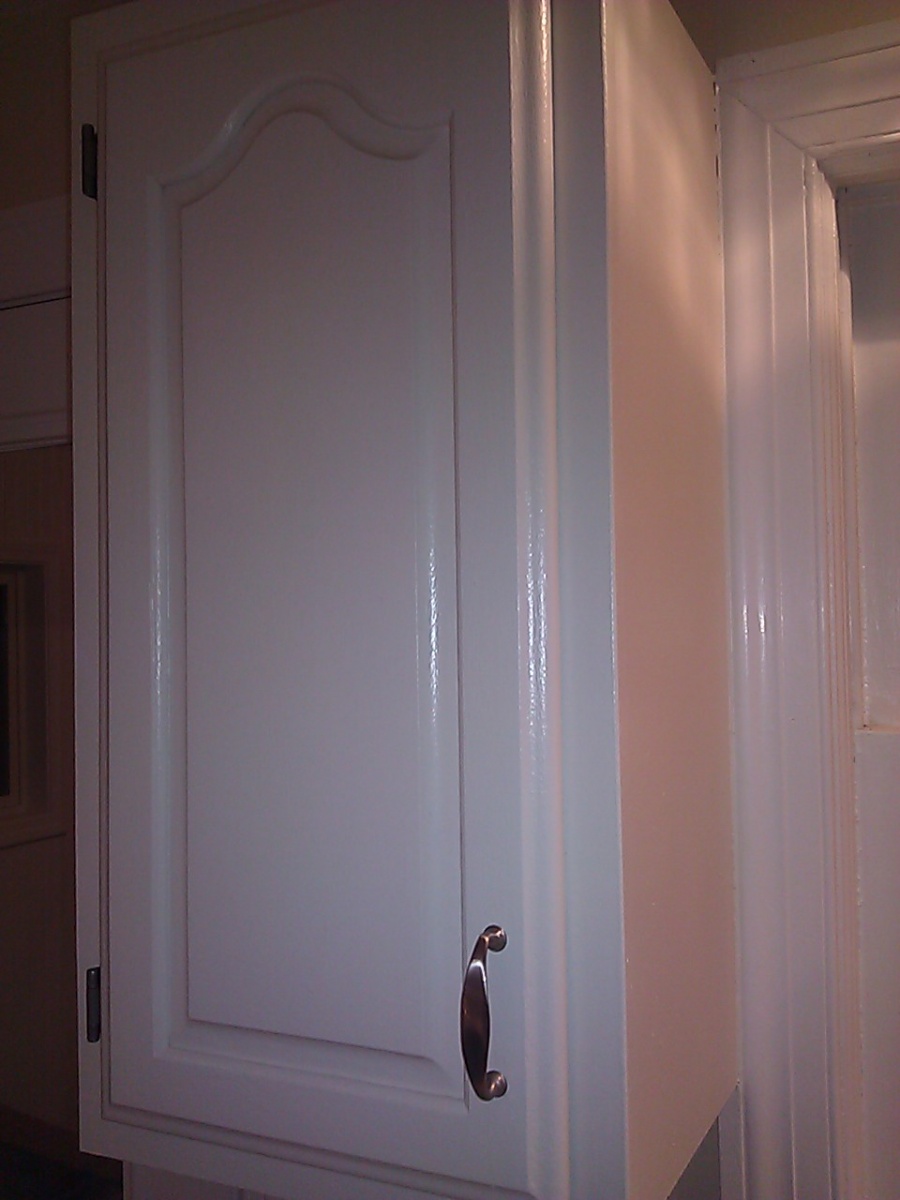
- Try new handles ...
-
- Or spray paint old ones!
-
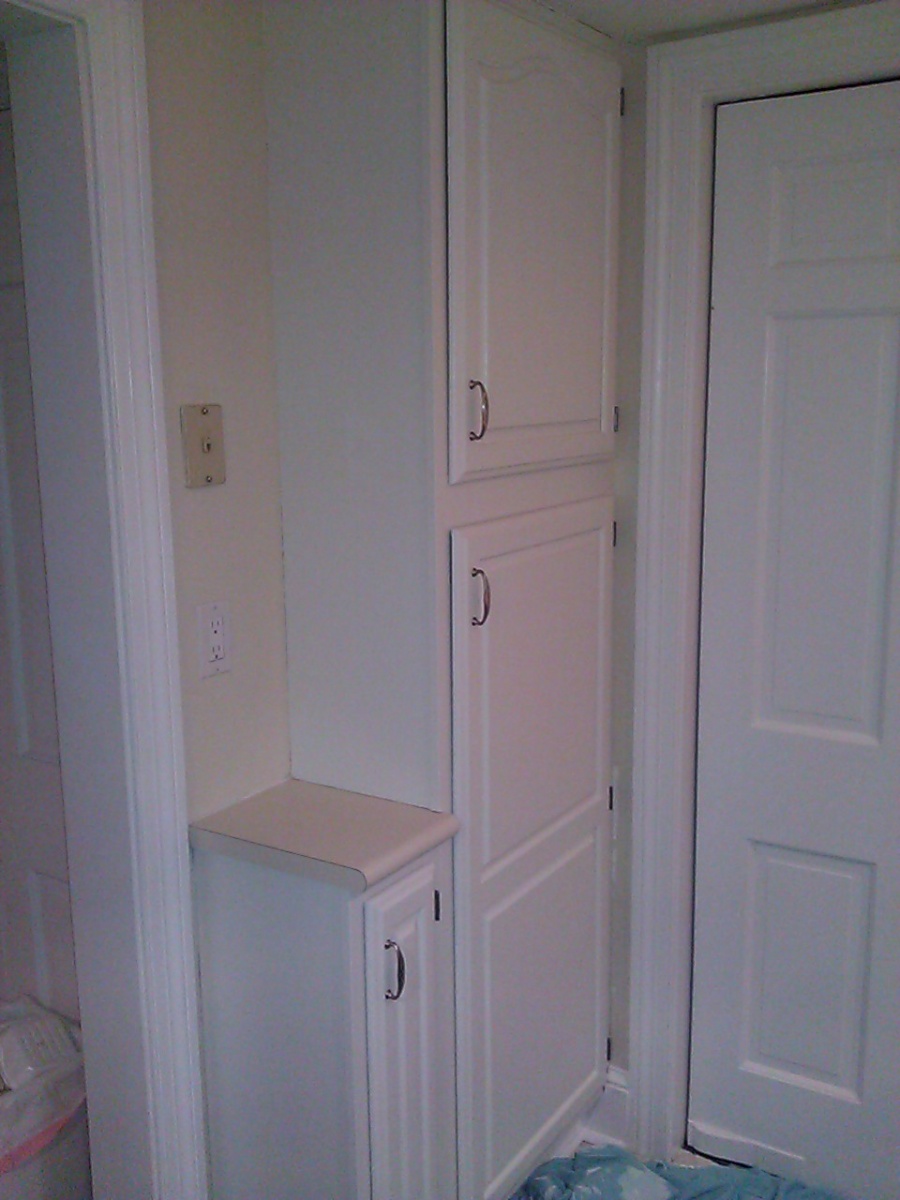
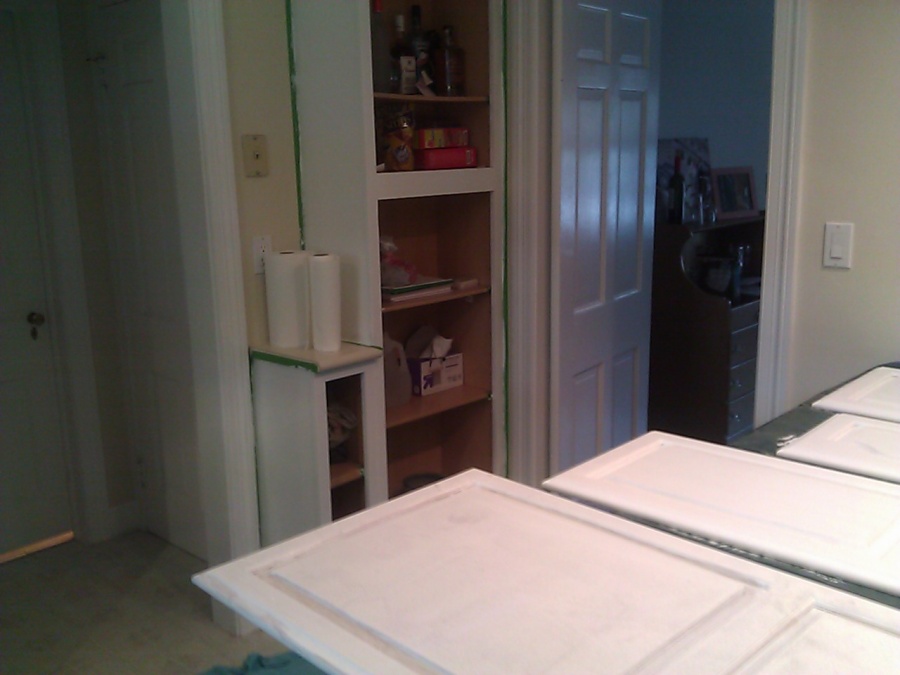
- Pantry like new
-

- Classic, yet modern kitchen look
-
- The 1,2,3's of painting kitchen cabinets
-
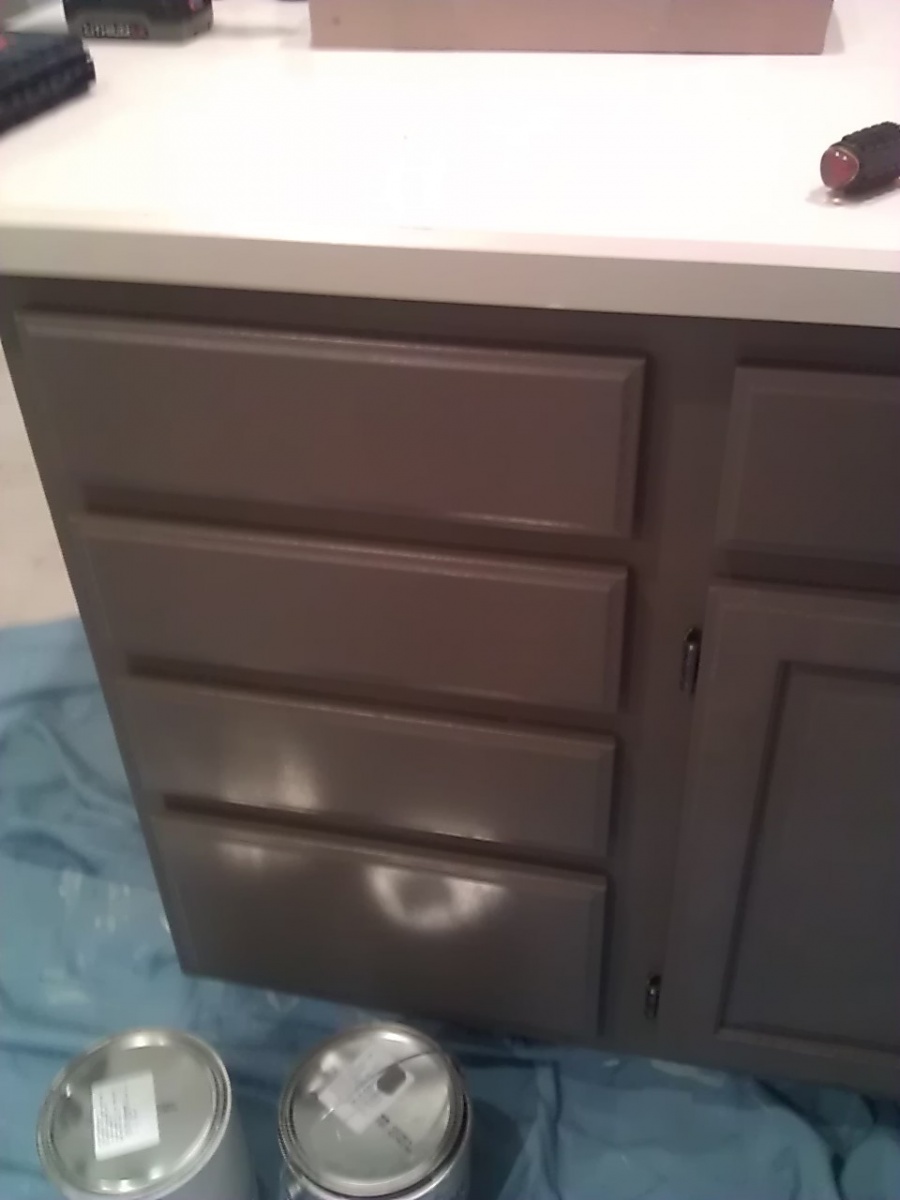
- Islands and other cabinets can be painted corresponding colors for a two-tone effect
-
- Re-installing cabinet hardware
All photo where taken by Parkview Landscaping and all work was done by Parkview Landscaping.
Categories: Home Improvement (Inside), Portfolio
Tags: Albany, bonding, cabinet doors, cabinets, counter tops, counters, deglosser, deglossing, drawers, drips, drop cloth, handles, hardware, hinges, home buying, kitchen cabinets, kitchen remodeling, new home, New home owners, painting, primer, remodel, renovation, sanding, taping, touch up, updating, updating kitchen
Previous Article Next Article
← Mid-Winter Thaw Spring Cleanup and Lawn Mowing →